How to Fix the Error Establishing a Database Connection in WordPress
The Ultimate List of Solutions
Error Establishing A Database Connection is probably one of the most annoying errors in WordPress hosting. It is also an error that can be seen happening every day.
The error though can be seen on different websites for different reasons. Sometimes it appears consistently, but sometimes it doesn’t.
There are a bunch of discussions online about this topic, but you can hardly find one that has a good summary of all key root causes. This lack of available topics and the lack of clearly defined root causes of the errors are the primary reason for this article.
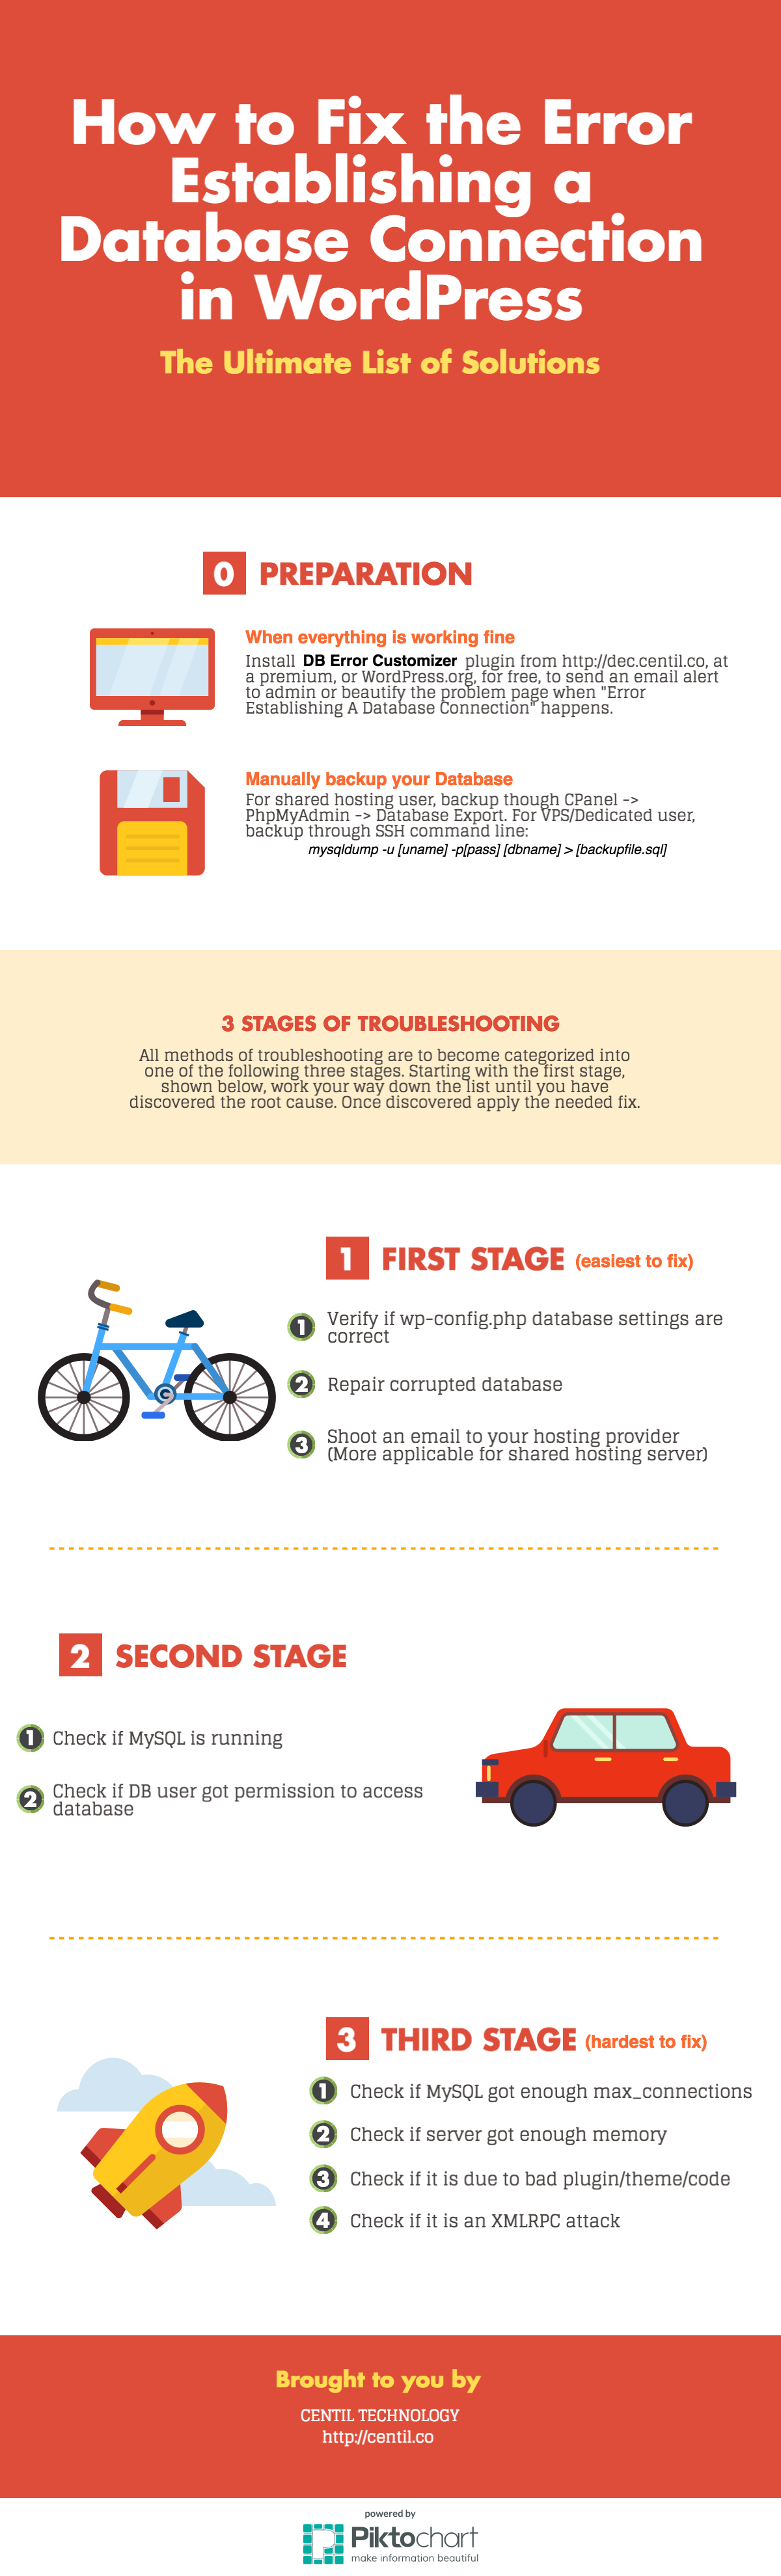
0. Preparation
0.1) Install a plugin to handle the error professionally
Before your website bumps into an “Error Establishing A Database Connection” issue, you should install a plugin to alert your admin.
This will beautify the error message when the problem appears. Because as we know troubleshooting usually takes time which allows that time to take place.
By beautifying the error message during the troubleshooting steps, you are preventing an ugly error from being showing to visitors on the site.
- Try installing the DB Error Customizer, at a premium, or from WordPress.org for free.
- Once installed you have accomplished the necessary sight prevention for site traffic.
0.2) Backup the database
Backing up your database allows you to revert when you’ve done something wrong. This is a must before beginning to troubleshoot.
For shared hosting server:
- You can backup the database from the CPanel
- CPanel->phpMyAdmin->Export.
For VPS/Dedicated server:
- You can backup database via command line.
- Just log in to your MySQL.
- Run `mysqldump -u [uname] -p[pass] [dbname] > [backupfile.sql]`
1. First stage of troubleshooting
1.1) Verify your wp-config.php settings
An error in the wp-config.php settings is the most basic mistake that happens. There are a few things that you should take note:
Verify your DB_NAME, DB_USER and DB_PASSWORD are correct:
- Usually, errors happen after you’ve migrated your website to another server, or you have modified your MySQL access permission.
- Double check if there are any special characters or extremely long blank spaces at the end of the file.
- Please take note that ‘ and ` are two different quotes, and you should be using the first one.
Verify that you have set a correct DB_HOST value:
- Usually, we should set it as `localhost`.
- However, certain hosting might require you to set it differently.
- Please, double check from your hosting provider’s online resources.
1.2) Repair corrupted database
If you see `One or more database tables as unavailable, the database may need to be repaired`. It is most likely caused by a corrupted database. The easiest way to repair a database is via phpMyAdmin.
To do this:
- Go to your phpMyAdmin (Shared hosting server can access it from CPanel).
- Load your WordPress database and select all database tables.
- At the bottom of the table, proceed with `Repair Table` action.
- You may also want to run `Optimize Table` too after that.
1.3) Check with your hosting provider
If the problem is not due to an invalid username, an invalid password, or a corrupted database, the problem is most likely one on the server-side.
You should contact the hosting provider to seek help at this time, as you will probably be unable to fix it further.
2. Second stage of troubleshooting
2.1) Check if MySQL is down
For a shared hosting user:
- You should be able to check the status of MySQL from the CPanel->Services Status.
- From Services Status, look for `mysql` service and its status.
- If MySQL is not running as it should, you will need to contact your hosting provider as they are going to need to fix it for you.
For VPS/dedicated users:
- You can SSH to your server and run `sudo service mysql status` (For Ubuntu).
- If MySQL is down, just restart it with `sudo service mysql restart` (For Ubuntu).
- Sometimes it is worthwhile to restart MySQL even if it is not down.
- Restarting the MySQL helps to recover some unreleased resources from your server.
2.2) Check if MySQL user has permission to access the database
Another potential issue is the DB_USER that you’ve set in wp-config.php might not have sufficient permission to access your WordPress database.
For shared hosting users:
- You can check it via CPanel->MySQL Databases->Current Databases.
- Check if your
DB_USERis listed next to the WordPress database. - If not, proceed to the
Add a User to a Databasesection to addDB_USERto this database. - If yes, click on your
DB_USERto see if it has all privileges in this database.
For VPS/dedicated user without CPanel:
- You can check permissions via the MySQL command line or the phpMyAdmin.
3. Third stage of troubleshooting
For the 3rd stage of troubleshooting, for a server that only sometimes has an issue with no clear clue on how it is failing, you may need to restart the database before troubleshooting.
3.1) Check if MySQL got enough max_connections
The max_connections is the maximum permitted number of simultaneous client connections to MySQL. Let’s say your max_connections is set to 10, and there are 12 visitors browsing your website simultaneously, 2 of these visitors might not be able to connect to MySQL. This will cause you to see the “Error Establishing A Database Connection.”. To prevent that, you should first check to see what your max_connections value is.
- You can read it from your MySQL command prompt.
- It is noticeable by `SHOW VARIABLES LIKE ‘%max_connect_errors%’;`.
- Then you should check what is the current connection count that your system is consuming.
- At the same MySQL command prompt, type `SHOW STATUS LIKE ‘% Threads_connected%’;` to get a rough idea of the currently active connections.
If both values are quite close to each other, you may want to adjust the max_connections setting to a higher value via command.
To do this:
SET GLOBAL max_connections = < A Higher Value >;- Once completed restart your MySQL service at the command prompt.
- This is done by entering, `sudo service mysql restart` (For Ubuntu).
3.2) Check if server got enough memory
If your server does not have enough memory, MySQL will shut down. MySQL will never come back online unless you force restart it.
There are a lot of reasons that might have caused a server to run out of memory. To ensure that your server has sufficient memory.
To check the amount of memory you can do so as follows:
- Firstly, you can check the amount of memory using command ‘free -m.’
- Refer to sample output below, the total `free` values of `Mem`+`-/+ buffers/cache` and `Swap` should show you the amount of total available memory your system has.
- If your free memory is too low and your website has quite a lot of visitors, this is most likely your system problem
total used free shared buffers cached
Mem: 490 447 42 19 71 153
-/+ buffers/cache: 221 268
Swap: 1023 267 756
You can enhance your system by doing the following:
- Upgrading your hosting plan to another with higher RAM.
- Setup/increase your server’s SWAP limit (Recommended 2x of your physical RAM).
- Install `WP Super Cache` or `W3 Total Cache` plugin to offload some traffic.
- Setup CDN(Content Delivery Network), for example, ‘CloudFlare’.
- You can easily find a lot of online resources on how to proceed with these recommendations.
3.3) Check if the problem is due to a bad plugin/theme
If your server has a good amount of RAM and does not have a lot of visitors, but is still very low in free memory, there is most likely a bad plugin, a bad theme, or some bad coding.
To troubleshoot which plugin or theme could be causing the problem:
- To troubleshoot which plugin or theme could be causing the problem.
- This will allow you to find out which one is consuming the most memory.
To troubleshoot if bad custom coding is the problem:
- You can try to dump out the Apache `server-status` page.
- This will allow you to examine which particular process is consuming most resources.
- For further information on this process do a Google search with keywords such as `server-status` and `enable apache server status.`
3.4) Check if it is XMLRPC attack
XML-RPC on WordPress is an API that allows a developer to communicate with their WordPress core via 3rd party application. For example to publish a post to a WordPress site via mobile app you would be using an API.
Because of the functionality of XML-RPC, attackers can try to use brute force attacks on your WordPress site. By using the API, they can continuously attack. This attack attempt will drain a lot of memory from your system.
There are a lot of discussions on how to prevent XML-RPC on WordPress available. To learn more do a Google search using keywords such as “How To Protect WordPress from XML-RPC Attacks.”
Conclusion
We hope that these troubleshooting tips have been helpful in providing a clearer summary as to the steps necessary to correct the issues discussed.
Please feel free to share this information with those that could find it useful.
Comments are welcomed and encouraged. Should you be interested in further troubleshooting tips, we would love to hear from you as well.